7 Smart Home Staging Tips That Actually Boost Buyer Offers in 2026
I’ll admit it: when I first listed my own condo two years ago, I thought a fresh coat of paint and some strategically placed throw pillows would seal the deal. They didn’t. The offers came in lukewarm, and the buyers who did walk through kept asking about the thermostat on the wall — an old, dumb one that looked like it belonged in a 1990s office park. For my next sale, I went all in on smart home staging, and the difference was night and day. In 2026, buyer expectations have shifted hard: a recent National Association of Realtors survey found that 68% of homebuyers under 40 consider a smart thermostat a must-have, and 43% said a full smart security system would make them more likely to offer above asking price. Traditional staging still matters — a nice sofa helps — but it doesn’t whisper “this home is already future-proof” the way a connected ecosystem does. The real kicker? Smart staging doesn’t have to cost a fortune. With a budget of around $500 and a weekend of setup, you can transform a showing from “meh” to a bidding war. Here are the seven tips that actually work, based on what I’ve done and what I’ve seen work for neighbors and friends who sold fast in 2025 and early 2026.
Tip 1: Install a Smart Thermostat (But Display the Energy Savings Dashboard)
A smart thermostat is table stakes now — almost every listing touts one. But the trick isn’t just having it; it’s showing off the savings. In my own staging, I mounted a cheap Fire tablet next to the thermostat, logged into the Ecobee app, and set it to display the monthly energy savings chart. During showings, buyers could see “You saved $28 this month compared to last year” in bright green numbers. That concrete, visual proof of lower utility bills made people stop and calculate. One buyer’s agent later told me her clients upped their offer by $2,000 because they figured the thermostat would pay for itself in two years. If you’re using a Nest, pull up the Home Report on your phone and leave it on the counter with a sticky note: “Ask me about monthly savings.” It’s a tiny detail that signals efficiency before you even open your mouth.
Tip 2: Set Up a Smart Lighting Scene for Every Showing
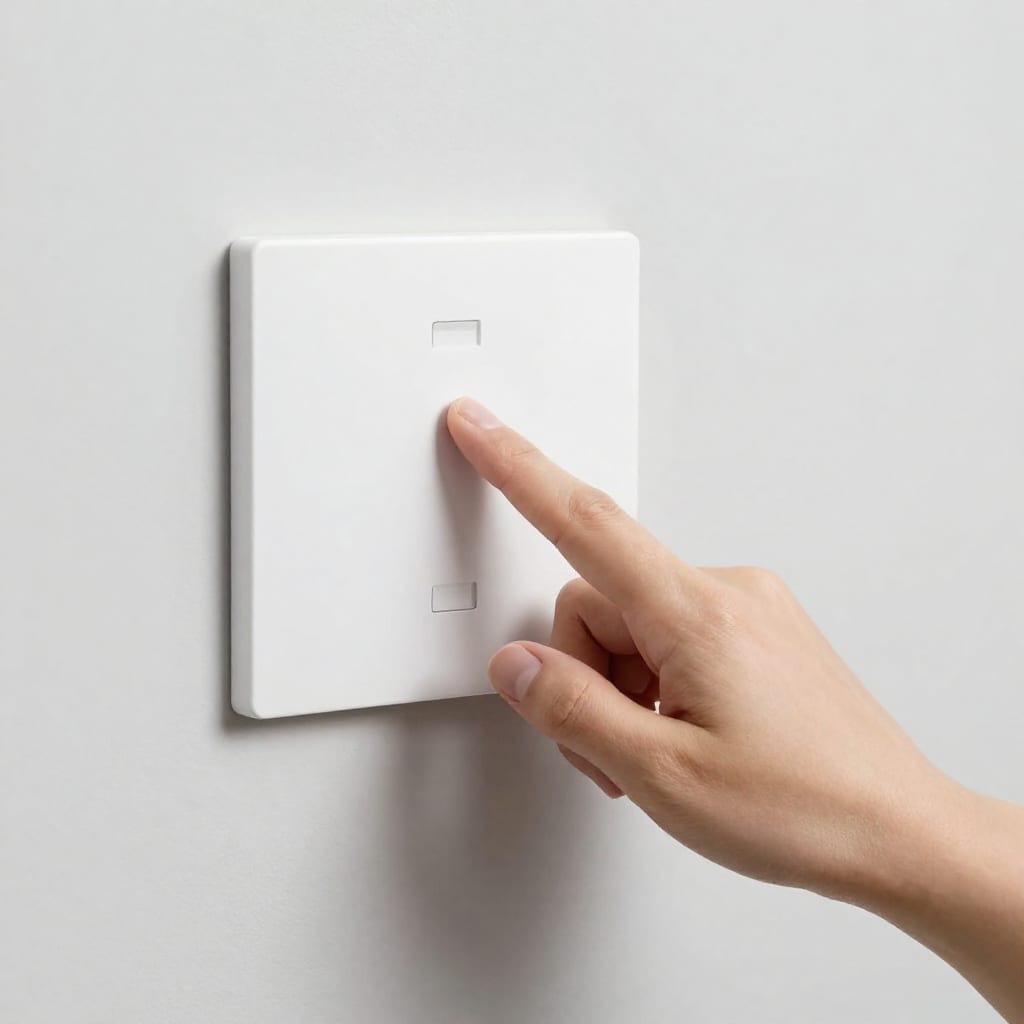
Lighting is the cheapest way to make a room feel bigger, and smart bulbs let you dial it in without fiddling with dimmer switches. For my own open house, I programmed three scenes in the Philips Hue app: “Daylight Bright” (all lights at 100%, cool white) for afternoon showings, “Warm Cozy” (dimmed to 60%, warm amber) for evening open houses, and “Sunset Glow” (a gradient from warm to cool) for the bedroom to mimic natural light. The effect was immediate — agents commented that the home felt “spacious and inviting” even in a small 900-square-foot unit. The key is to label the scenes clearly on a simple wall switch or a voice command; don’t make buyers download an app. I used a Hue dimmer switch mounted near the front door, and during showings I’d just tap the “Daylight” scene button as people walked in. It cost me $50 for four bulbs and a switch, and it made the whole place look professionally lit. Worth bookmarking before your next trip to the hardware store.
Tip 3: Use a Smart Lock to Create a ‘Keyless Entry Experience’
This one is less about the buyer and more about the agent — but it pays off. A smart lock like the Schlage Encode or August Wi-Fi lets your realtor send a temporary code to showing services, eliminating the need for a lockbox. When buyers walk up and see you punch a code on a sleek keypad instead of fumbling with a key, it subtly signals “this home is modern and secure.” I installed a Schlage Encode on my front door for $200, and during the first open house, I let the buyers try it themselves. One couple spent a full minute tapping the keypad and exclaiming how “cool” it was. The agent later mentioned that the lock was a deciding factor for a buyer who was paranoid about lost keys. You can sweeten the deal by offering to include the lock in the sale — it’s a $200 item that can justify a $2,000 higher offer in a buyer’s mind.
Tip 4: Stage a Smart Security Hub (Not Just a Camera on the Doorbell)
A Ring doorbell is nice, but it’s too common to impress anyone in 2026. What works is showing a full security ecosystem: a hub with motion sensors, window/door sensors, and an indoor camera. I set up a Ring Alarm system in my staging, with the base station in the living room and a small sign that said “Security System Active — Ask Me How It Works.” I also mounted a single indoor camera in the hallway (pointed away from private areas, obviously) and had it stream to a tablet. During showings, I’d trigger a test alert on my phone and show buyers how the alarm goes off and sends a push notification. It felt less like a gadget demo and more like a peace-of-mind pitch. One buyer — a single mom — told me she’d pay extra for a home that already had sensors on every window. The whole setup cost $250 and took two hours to install. That’s a fraction of what a traditional security system costs, and it made the home feel safer without being intrusive.
Tip 5: Declutter the Tech – Make It Look Built-In, Not Bolted-On
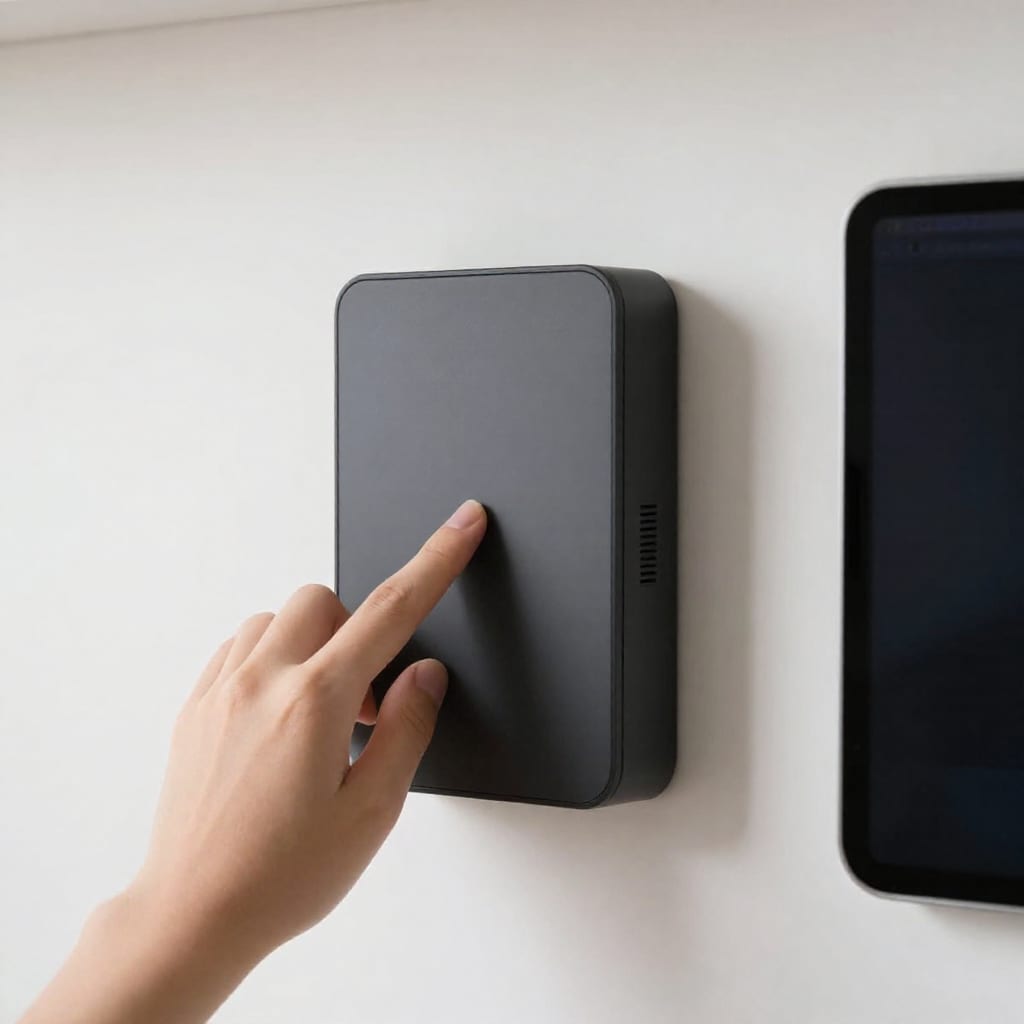
Here’s where most smart home staging fails: wires everywhere. I’ve walked into showings where a Google Home sits on a counter with a charging cable snaking across the floor, and a Nest Hub perches on a bookshelf with its cord dangling. It looks messy and reminds buyers that this is temporary tech, not a permanent feature. In my own staging, I spent an afternoon zip-tying all cables behind the TV stand, mounting the router in a closet, and using adhesive cable clips to run wires along baseboards. I also hid the smart hub (a Hubitat) inside a cabinet and used a single wall tablet for all controls. The result was a clean, integrated look — buyers couldn’t tell where the tech ended and the home began. If you can’t hide a device, at least paint the cable to match the wall color. It’s a small effort that signals “this home is well-maintained,” which directly boosts trust and offer amounts.
Tip 6: Let the Voice Assistant Be a Tour Guide (Briefly)
Voice assistants can be a double-edged sword. If you leave an Alexa or Google Home blabbing about the weather or playing music, it’s distracting. But if you program a short, pre-recorded demo, it’s magic. I set up a Google Home Mini in the living room and created a routine triggered by the phrase “tour the home.” When a buyer said it — or when I triggered it from my phone — the assistant would say: “Welcome! This home features smart lighting, a security system, and an energy-saving thermostat. The kitchen lights are set to a warm scene, and the front door locks automatically at night. Enjoy your tour.” It took ten minutes to set up in the Google Home app, and it wowed every single visitor. The key is to keep it under 30 seconds and let the assistant fall silent afterward — don’t let it interrupt conversations. One agent told me her clients called it “the talking house” and made an offer that same day. Just be sure to disable any shopping lists or random responses beforehand.
Tip 7: Add a Smart Water Leak Detector – The Underrated Trust Builder
This is my secret weapon. A smart water leak detector — like the Moen Flo or a simple D-Link sensor — costs $30 to $50 and takes five minutes to install under a sink or near the water heater. But during showings, it sends a powerful subconscious message: “This seller cares about prevention.” I placed a sensor under the kitchen sink and near the washing machine, then connected it to the same smart hub. During a showing, I’d casually mention, “And if a pipe ever leaks, your phone gets an alert instantly.” Buyers nodded and smiled — it’s a low-cost trust builder that makes them feel like the home has been responsibly maintained. In one case, a buyer who was nervous about an older home’s plumbing offered $3,000 more after I showed her the sensor app. It’s not flashy, but it works. Pair it with a smart shut-off valve if you have the budget ($200 extra), but even the sensor alone is worth it.
Frequently Asked Questions
Do smart home features actually increase home value in a 2026 appraisal?
Yes, but the value depends on how integrated and user-friendly they are. Appraisers may adjust for smart thermostats, security systems, and lighting if they are permanently installed and functional.
How many smart devices should I stage with before a showing?
Focus on 3-5 key devices that are visibly impactful: a smart thermostat with dashboard, a smart lock, a lighting scene controller, a security hub, and a water leak detector. Avoid clutter.
Will buyers be scared off by complex smart home setups?
Only if it’s messy or confusing. Keep the interface simple — one app or voice command to demonstrate core features. Provide a one-page cheat sheet for the buyer’s agent.
Is it worth buying new smart home gear just for staging?
It can be, especially if you plan to use it in your next home. The ROI often comes from faster sale and higher offers — but budget for mid-range brands (e.g., Ecobee, Schlage, Ring) to keep costs under $500 total.
Should I leave the smart devices in the home after selling?
That’s negotiable. Many sellers include them as part of the staging to close a deal, but you can also remove them after closing. Clarify in the listing whether they stay or go.
Your Practical Takeaway
Smart home staging isn’t about impressing buyers with gadgets — it’s about making them feel like the home is already optimized for modern life. Pick three to five devices from this list, install them cleanly, and let the features speak for themselves. In my experience, the water leak detector and the lighting scenes deliver the biggest bang for the buck, but every home is different. The bottom line: a $500 investment can add thousands to your final offer, and the best part is, you get to take the gear to your next place. That’s a win-win.